Introduction:
A clean laptop keyboard not only looks good but also ensures better performance and longevity of your device. Dust, crumbs, and grime can accumulate over time, leading to sticky keys, reduced typing comfort, and even potential damage to internal components. In this comprehensive guide, we’ll walk you through how to clean a laptop keyboard properly, offering tips and tricks to make the process easy and effective. Whether you’re dealing with a light layer of dust or more stubborn grime, this article covers all you need to know.
Why Cleaning Your Laptop Keyboard Matters?
Before diving into the cleaning process, let’s explore why it’s important to keep your keyboard clean.
Improves Performance:
Dust and debris can affect the functionality of your keys, leading to unresponsive or sticky keys. Regular cleaning ensures smooth typing and better performance.
Enhances Hygiene:
Keyboards can harbor bacteria and germs, especially if you eat at your desk or share your laptop with others. Cleaning reduces the risk of spreading germs and keeps your workspace healthier.
Extends Lifespan:
Regular maintenance helps prevent wear and tear on your keyboard, extending its lifespan and maintaining the overall condition of your laptop.
What You’ll Need?
Before you start cleaning, gather the following supplies-
Compressed Air:
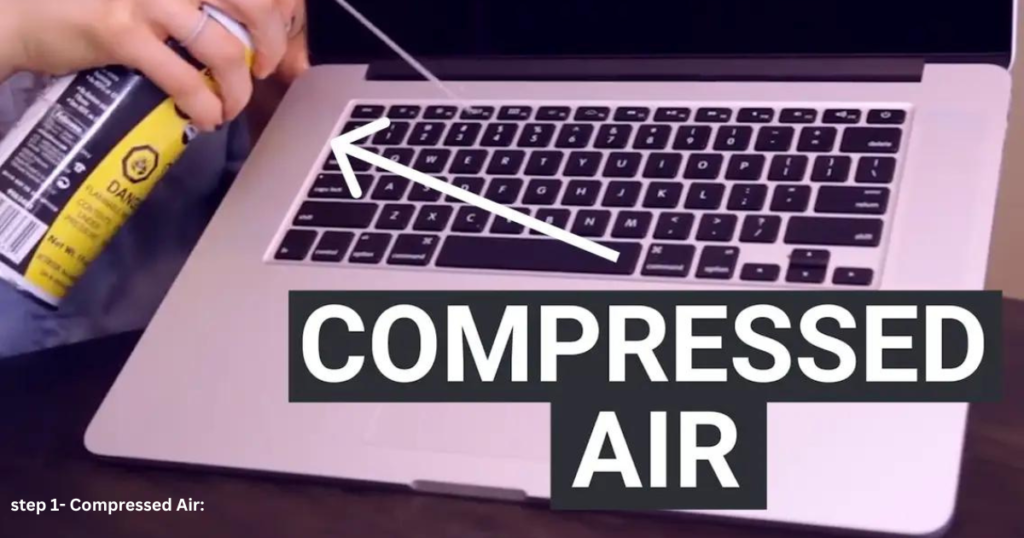
To blow out loose dust and debris.
Microfiber Cloth:
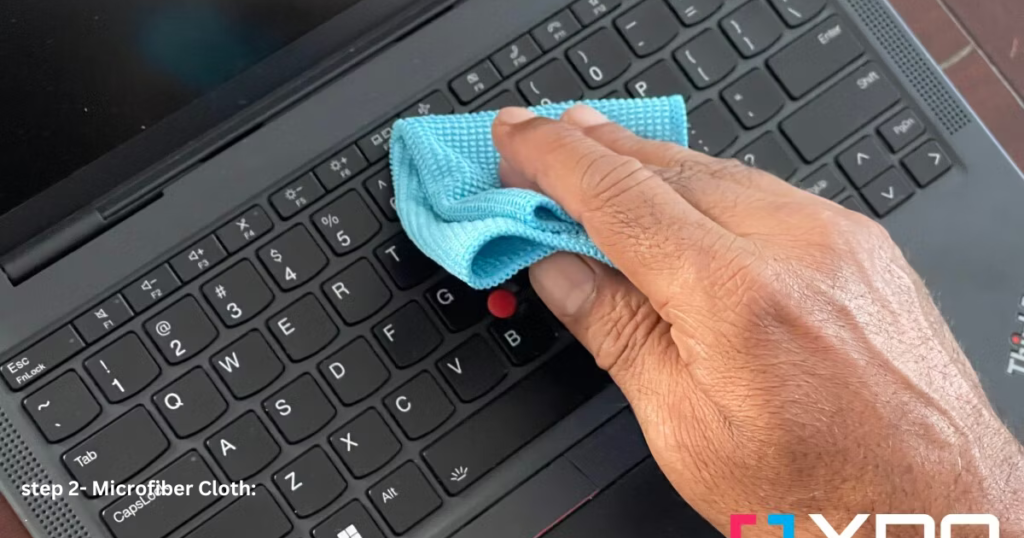
For wiping the surface of the keys.
Cotton Swabs: For cleaning around the edges of the keys.
Isopropyl Alcohol (70% or higher):

For disinfecting and removing grime. Soft Brush or Toothbrush: To dislodge dirt from hard-to-reach areas.
Cleaning Gel or Putty:
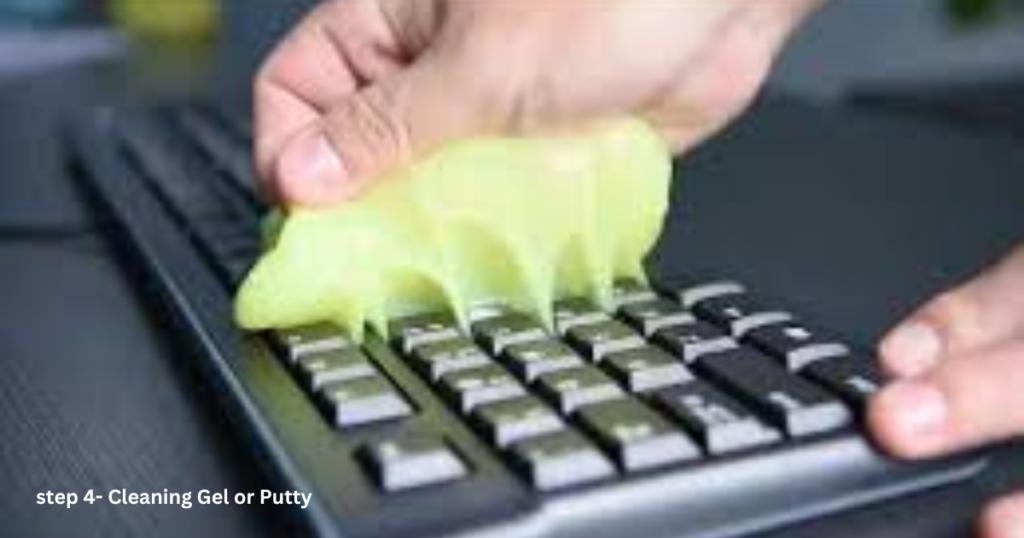
Optional, for getting into tight spaces.
Step-by-Step Guide to Cleaning Your Laptop Keyboard-
1. Power Down and Unplug:
Before you begin cleaning, ensure your laptop is turned off and unplugged from any power sources. This precaution helps prevent any accidental key presses or damage during the cleaning process. If your laptop has a removable battery, take it out as well.
2. Remove Loose Debris:
Start by gently turning your laptop upside down and giving it a light shake to dislodge any loose debris. You can also use a soft brush or a handheld vacuum with a brush attachment to remove larger particles. Be careful not to use too much force, as this could damage your keyboard.
3. Use Compressed Air:
Hold the laptop at a 75-degree angle (almost upright) and use a can of compressed air to blow out dust and debris from between the keys. Keep the nozzle a few inches away from the keyboard and use short bursts of air. Move the laptop around to ensure you cover all angles. Be cautious not to tilt the can too much, as this can release propellant that might damage your laptop.
4. Wipe Down the Surface:
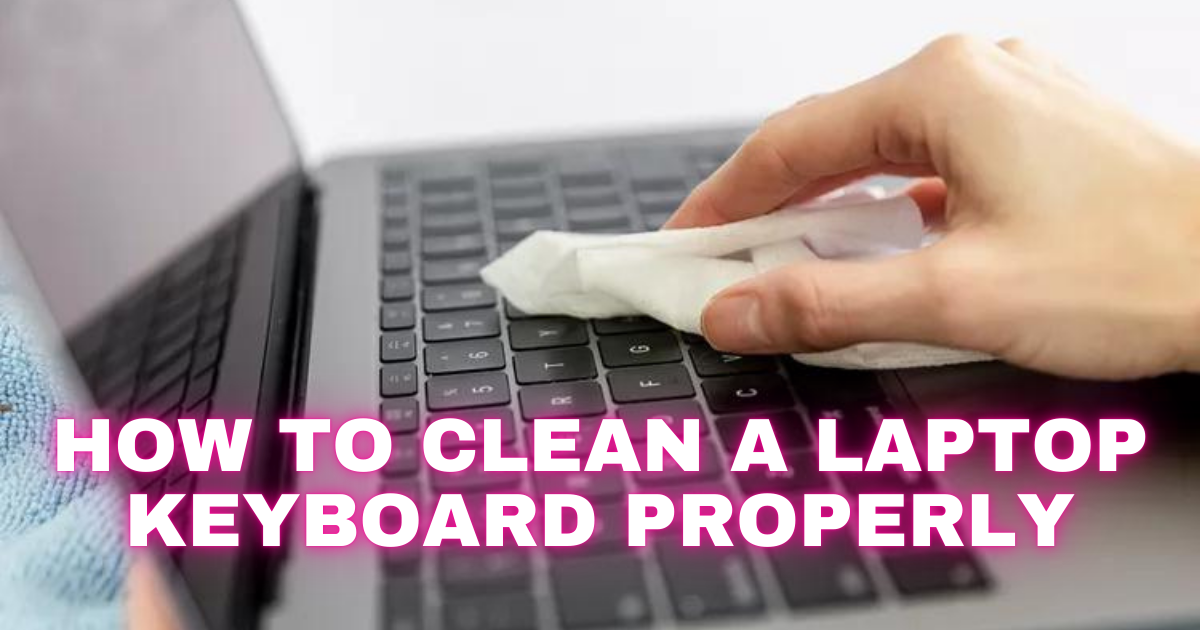
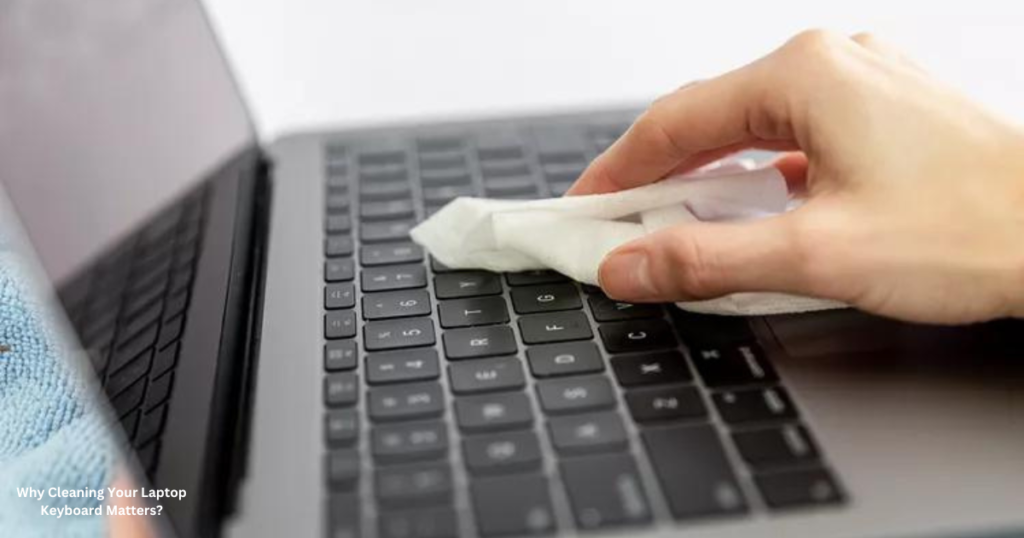
Dampen a microfiber cloth with a small amount of isopropyl alcohol. Gently wipe the surface of the keys, paying special attention to areas where grime tends to build up. Avoid using excessive liquid, as it can seep into the keyboard and cause damage. For stubborn stains, you can apply a bit more pressure, but be gentle to avoid damaging the keys.
5. Clean Between the Keys:
Dip a cotton swab in isopropyl alcohol and use it to clean around the edges of the keys. This method is effective for reaching dirt that the cloth might have missed. For areas with more buildup, you can use a soft brush or a toothbrush to dislodge the grime before wiping it away.
6. Use Cleaning Gel or Putty (Optional):
Cleaning gels or putty are designed to pick up dust and debris from tight spaces. Gently press the gel or putty onto the keyboard, then lift it away to remove particles. This method can be particularly useful for getting into gaps between the keys. Be sure to follow the product instructions and avoid using excessive force.
7. Dry and Reassemble:
After cleaning, allow the keyboard to air dry for a few minutes to ensure no moisture remains. If you removed the battery, reinsert it, plug in your laptop, and power it on. Test the keys to ensure they are functioning properly.
Tips for Maintaining a Clean Keyboard:
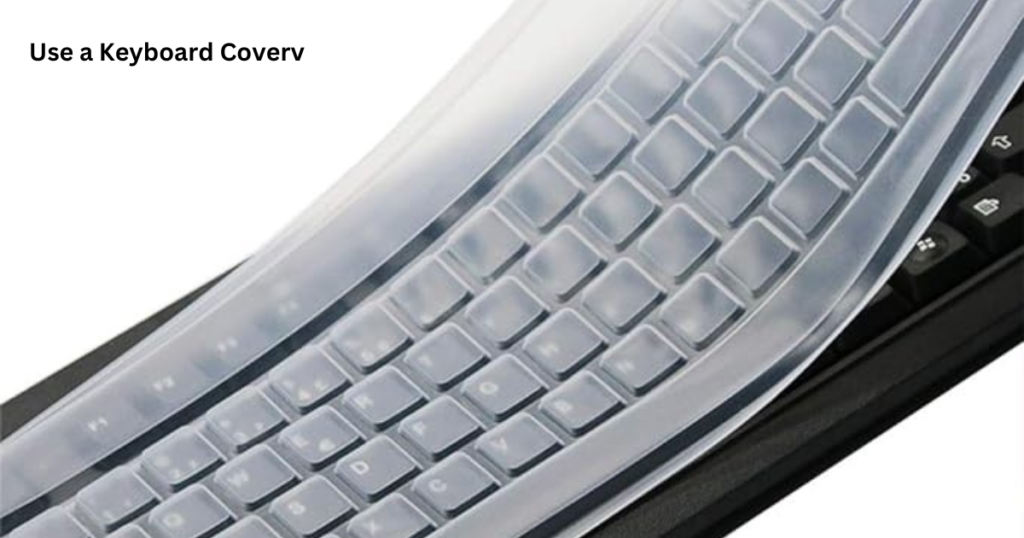
Use a Keyboard Cover:
Invest in a silicone keyboard cover to protect your keys from dust, crumbs, and spills.
Practice Good Hygiene:
Wash your hands regularly and avoid eating near your laptop to minimize the amount of debris that ends up on your keyboard.
Regular Cleaning:
Make a habit of cleaning your keyboard every few weeks or as needed to prevent the buildup of dirt and grime.
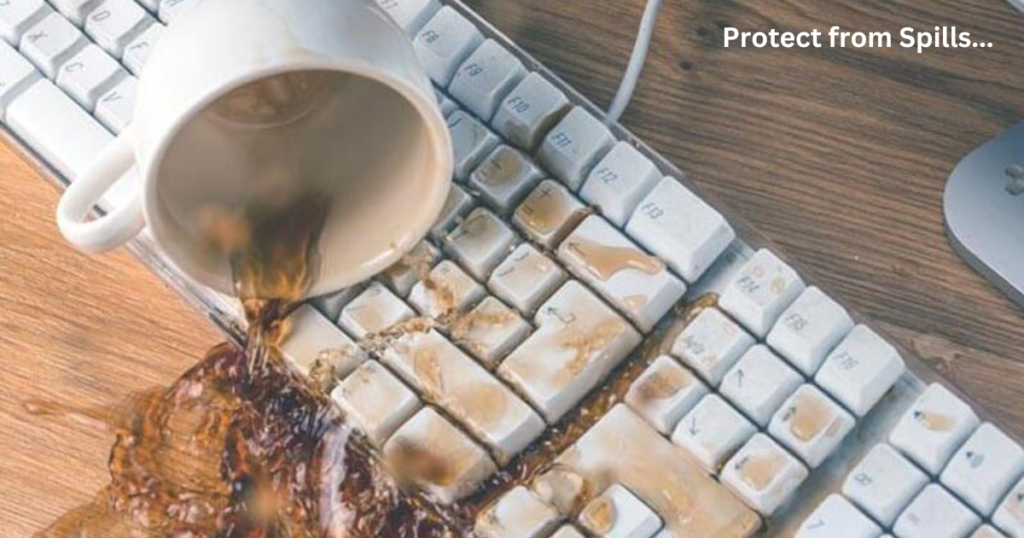
Protect from Spills:
Be cautious with liquids around your laptop. If a spill occurs, turn off the laptop immediately and let it dry completely before turning it back on.
Common Mistakes to Avoid-
Using Excessive Liquid:
Avoid using too much cleaner or water, as this can seep into the keyboard and damage internal components.
Using Harsh Chemicals:
Stick to isopropyl alcohol or designated electronics cleaners. Harsh chemicals can damage the keyboard’s finish or functionality.
Forcing Key Removal:
Unless you are confident in your ability to reassemble your keyboard, avoid removing keys as this can lead to damage.
Conclusion:
Keeping your laptop keyboard clean is a simple yet crucial task that can enhance your typing experience, improve hygiene, and extend the lifespan of your device. By following these steps and incorporating regular maintenance into your routine, you’ll ensure that your keyboard remains in top condition.
